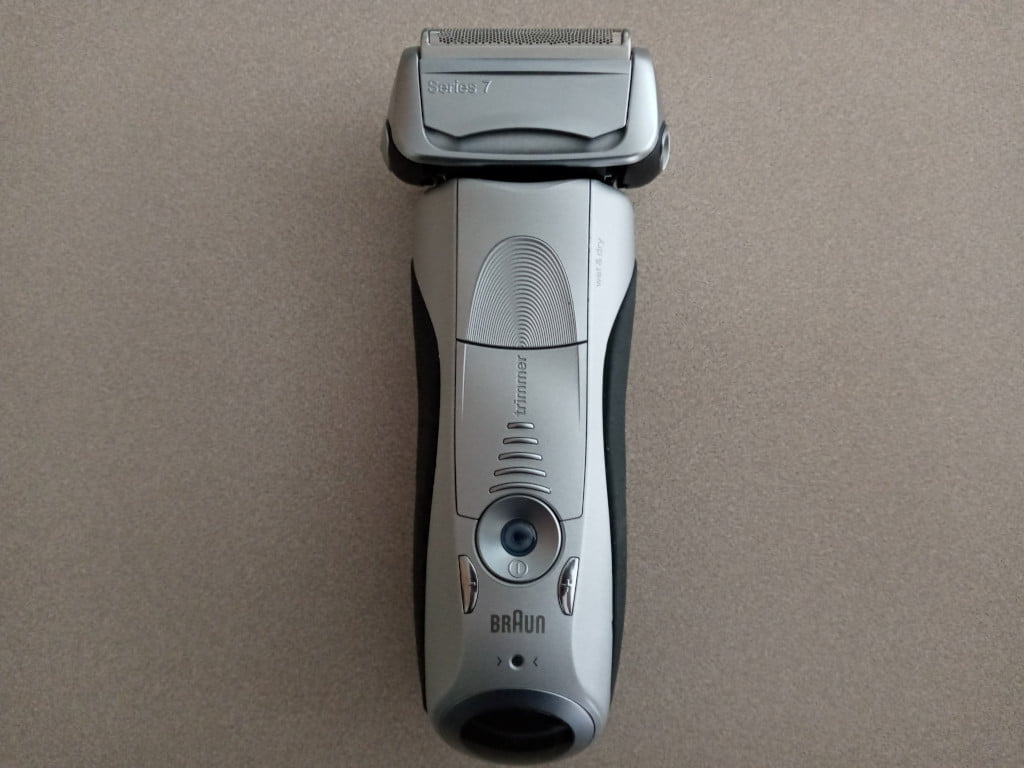
Braun Series 7 Model 7893s Electric Shaver Battery Replacement
Updated on 2022-08-05
Contents
- 1 – Introduction
- 2 – What You’ll Need
- 3 – Disassembly and Battery Replacement
- 4 – Re-assembly
- 5 – The Magic Tip
- 6 – Conclusion
1 – Introduction
I purchased my first Braun electric shaver, a Braun Series 7 model 7893s, in 2017 at Costco. I’ve used electric shavers for most of the time I’ve shaved and the Braun Series 7 model 7893s is hands down the best electric shaver I’ve ever used. A site dedicated to electric shaver guides and reviews thinks the same about the Braun Series 7 in general, although not so much the newest iteration of the series.
Two to three months ago, I began noticing that my electric shaver needed recharging after fewer shaves. Time to replace the rechargeable battery I thought to myself. The owner’s manual had a section on how to access and remove the rechargeable battery and the process looked simple, so I decided to attempt to replace the battery myself.
I found my replacement battery on Amazon. I’m not going to provide a link because the link will likely eventually not work. Just search for braun series 7 battery replacement on Amazon and you should easily locate it. The price for the battery was $19 plus tax and shipping at the time I wrote this blog post. My total order, including the battery, was over $25 when I purchased the battery, so I didn’t incur shipping charges.
In the wee hours of a Tuesday morning in early December, I commenced to attempt to replace the rechargeable battery in my Braun Series 7 model 7893s electric shaver. The shaver disassembly wasn’t as simple as I was led to believe based on the instructions in the user manual. However, I eventually disassembled the shaver, replaced the battery, and then reassembled the shaver. I then took my shaver up to the master bathroom and plugged it in to charge the battery. The indicator lights blinked, indicating that the battery was being charged. Mission accomplished…or so I thought.
I normally shave my face and head on Tuesdays and Saturdays. In the wee hours of the following Sunday morning, I sat down in the soaker tub all ready to shave my face and head. I pressed the power button on the shaver and nothing. I looked at the indicator lights and the one on the left was blinking red, which normally means the battery needs to be recharged.
Later in the day on Sunday, I disassembled the shaver again to see if I had done anything incorrectly. I was unable to see anything out of the ordinary. I reassembled the shaver and pressed the power button and nothing. I then re-read the owner’s manual again about battery removal and noticed the following statement: Caution: Dissembling the appliance will destroy it and invalidate the warranty. Wow, they designed the shaver to stop working if disassembled I thought to myself. I was furious. I disassembled the shaver yet again, removed the battery for disposal, and re-assembled the shaver. I had the shaver and the charging cord sitting on a table in my home office ready for disposal.
Upon further contemplation, I thought the self-destructing design idea couldn’t be right because you can send the shaver in for service if necessary. Maybe there’s an unknown trick to dissassembling the shaver without rendering it unusable. However, I wasn’t able to find anything online to resolve my inoperable shaver. I resolved that the only solution was to purchase another shaver.
While researching for a possible electric shaver replacement, I came upon a post on the iFixit site about replacing the rechargeable battery in a Braun Series 7 model 790cc electric shaver. I discovered two tips in the reader comments section of the post that I thought might possibly be the solution to my inoperable shaver.
One of the tips stated that the motor assembly contacts must be aligned correctly so that the top screws go through the round holes versus the square holes. That tip turned out not to be the issue with my shaver. The other tip was so simple that it was somewhat maddening. I’ll cover the other tip later in the tutorial.
I was so elated that my shaver now worked after replacing the battery. I thanked God profusely. Not only did I save a lot of money by not having to purchase a new shaver, the experience also presented the opportunity for a nice blog post.
While this tutorial is geared toward the Braun Series 7 model 7893s electric shaver, it should also work for all Braun Series 7 3-digit model numbers beginning with 7 as well as the following Braun Series 7 4-digit model numbers: 7865cc, 7898cc, and 7899cc.
2 – What You’ll Need
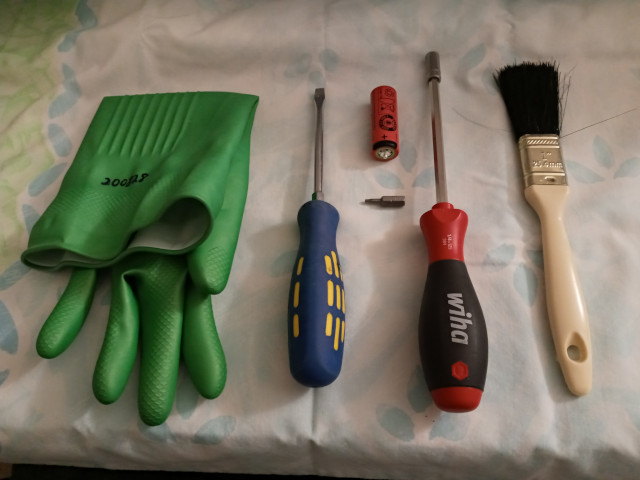
Based on my experience, you’ll need the following items to replace the rechargeable battery in the Braun Series 7 model 7893s electric shaver:
- Flathead screwdriver
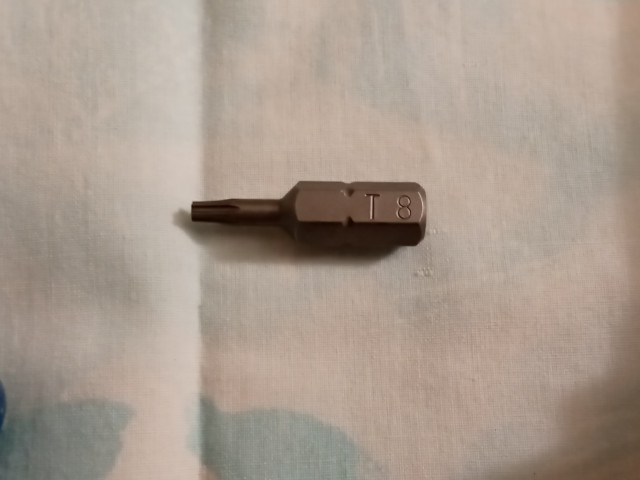
- T8 torx driver or bit
- Clean, 1-inch paint brush
- Replacement battery
- Dish glove
- Smartphone SIM card ejection pin or similar device
- Protective surface cover (I used an old pillowcase) if you don’t have a work table
3 – Disassembly and Battery Replacement
3.01 – Disassembly and Battery Replacement – Create a Gap
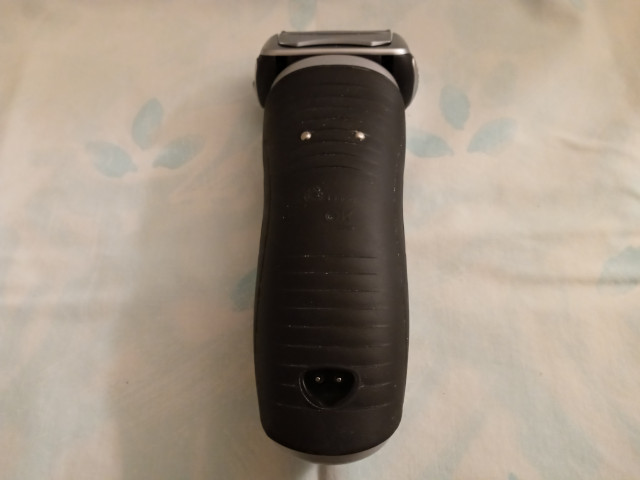
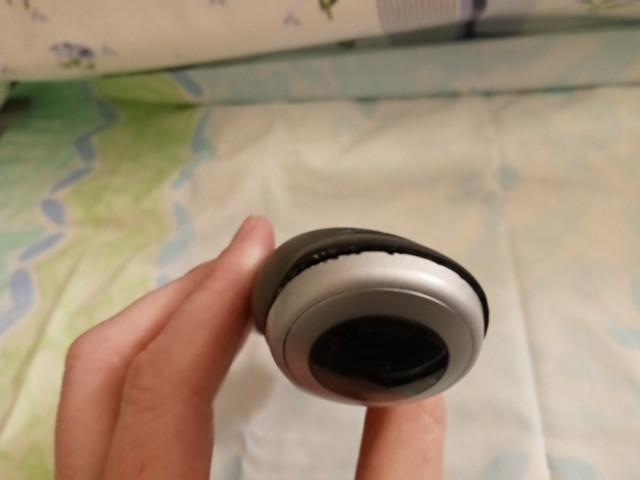
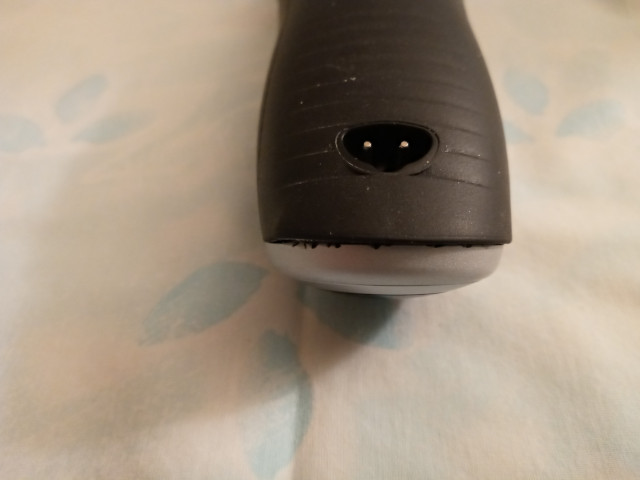
Press both sides of the bottom of the rubber grip on the back of the shaver. This should produce enough of a gap in which to slide the blade of a flathead screwdriver.
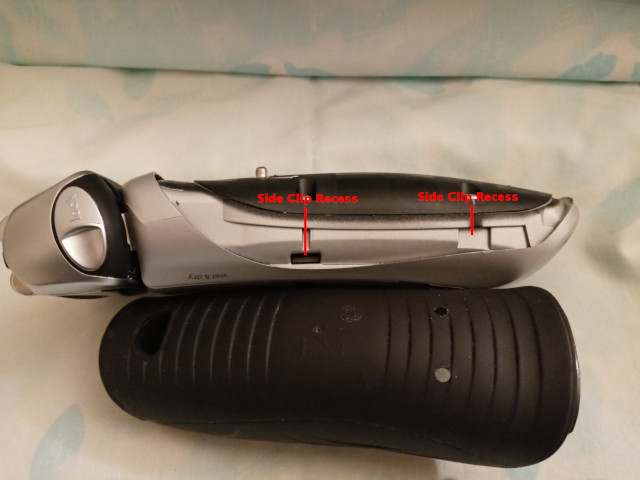
3.02 – Disassembly and Battery Replacement – Remove the Rubber Grip
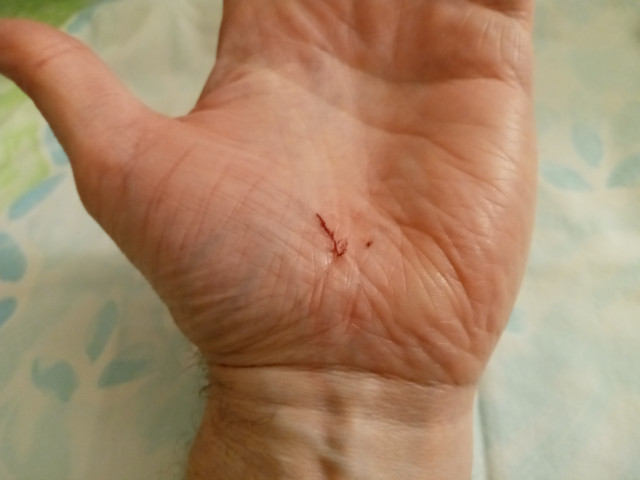
Gently pry the bottom of the rubber grip from the shaver until you hear a distinct click. Be careful…prying a handheld object with a flatblade screwdriver using force can result in undesired consequences.
The click means one or both of the bottom side clips have dislodged. You may be able to remove the rubber grip using your hands at this point. If not, continue carefully using the blade of the screwdriver to dislodge the remaining side clips; there are 4 side clips in total.
Once the rubber grip has been removed, you should see the plastic body covering on the back of the shaver which is secured with 4 T8 torx screws.
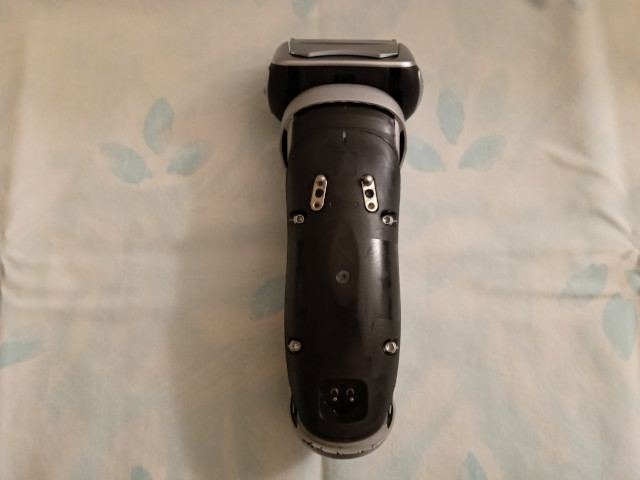
3.03 – Disassembly and Battery Replacement – Remove the Torx Screws
Use a clean 1-inch paint brush to brush away any debris into a trash can. Then remove the 4 screws using a T8 torx driver or bit.
3.04 – Disassembly and Battery Replacement – Remove the Plastic Back Cover
The plastic back body cover is snug, even after removing the screws. I found it impossible to remove the cover using my bare hands. Using a dish glove resulted in being able to easily remove the back body cover. I did not want to use a screwdriver blade or similar device to pry the cover off because I was worried about damaging the cover.
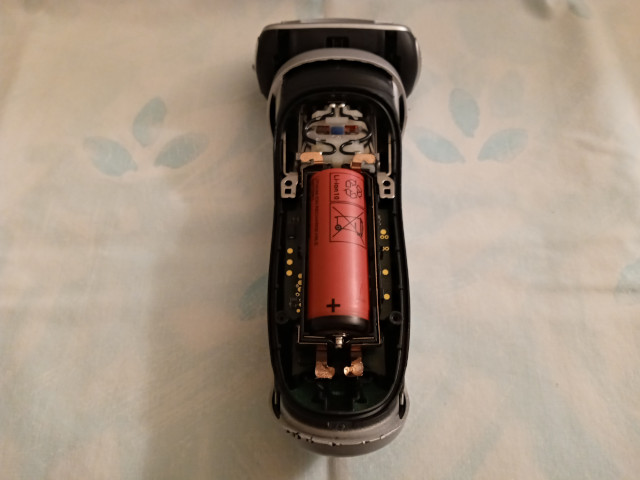
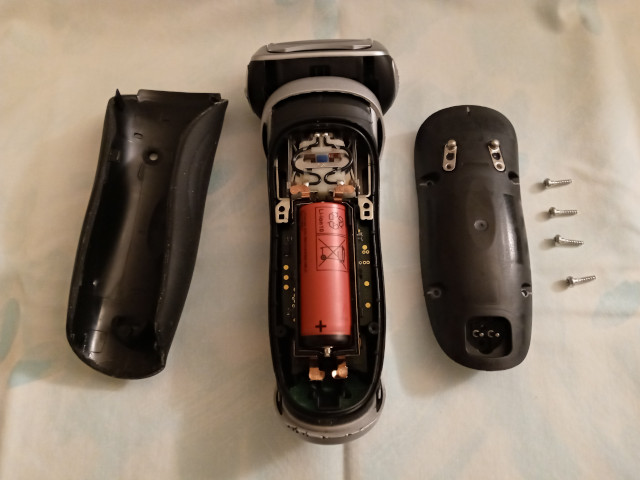
Once the plastic back body cover is removed, you should now see the working innards of the shaver, including the rechargeable battery.
Following is an image of all of the items after disassembling the back of the shaver.
3.05 – Disassembly and Battery Replacement – Replace the Battery
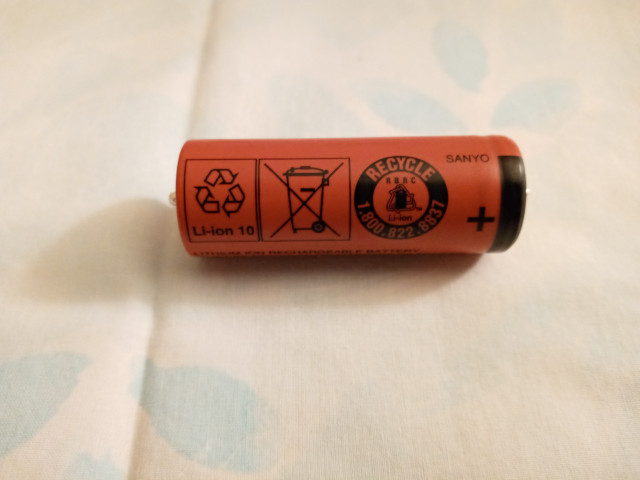
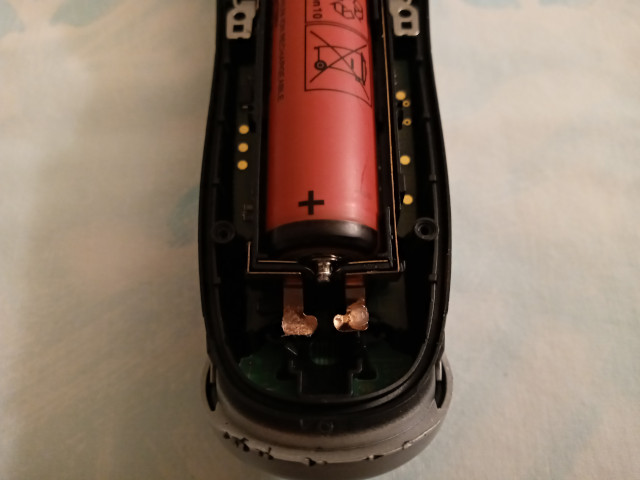
You are now ready to replace the battery. I found it easiest to remove the battery closer to the top of the shaver (end of battery opposite positive end) first. Following are images of the old battery in my model 7893s shaver.
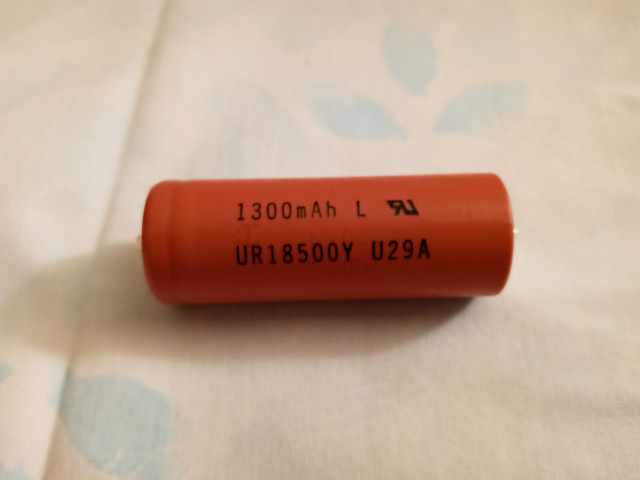
The new battery did not have the numbering the old battery had.
 | 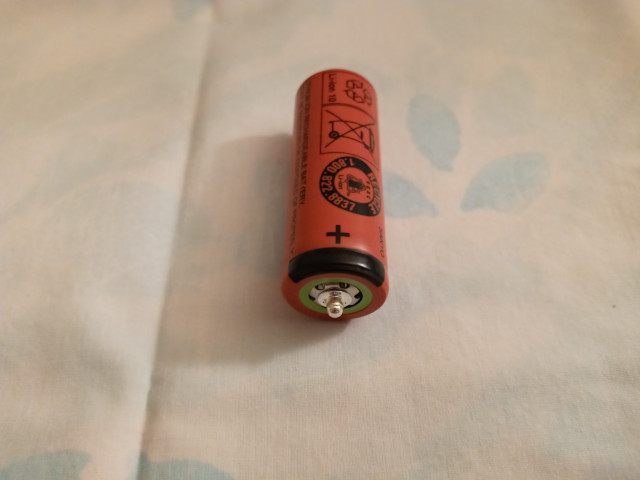 |
Slide the positive end of the new battery into the slot closest to the end of the shaver and then push the opposite end of the battery into the battery holder. You should not need to use excessive force to place the battery into the battery holder.
4 – Re-assembly
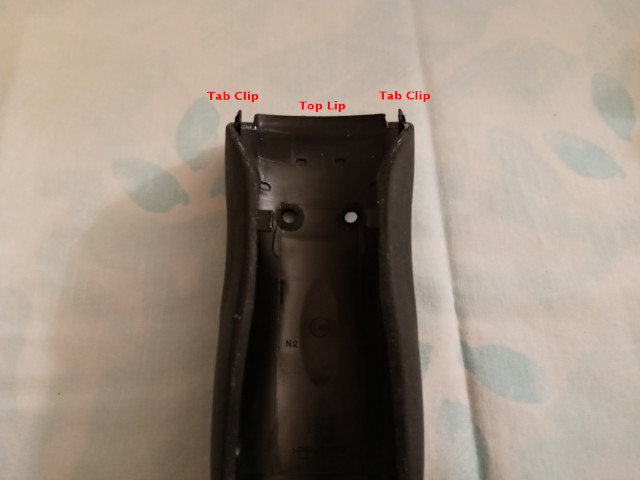
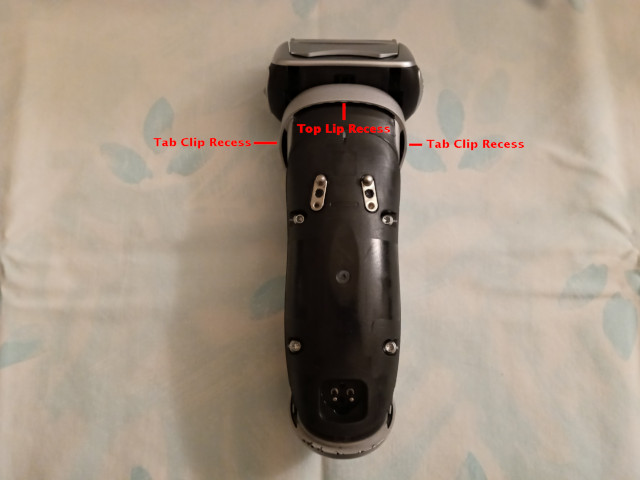
Re-assemble the shaver in the opposite order of disassembly, making sure not to overtighten the torx screws. To replace the rubber grip, slide the lip at the top into the recessed area near the top of the shaver body while working the two tab clips into the respective notches on both sides of the shaver body near the top.
Now press the rubber grip onto the shaver body until it snaps in place. You may need to work the grip with your hands to get it to settle properly. There may be a bit more of a gap between the shaver body and the rubber grip at the bottom of the shaver. You may also have slight damage to the shaver body. Both issues would be the result of prying the rubber grip off with the flathead screwdriver.
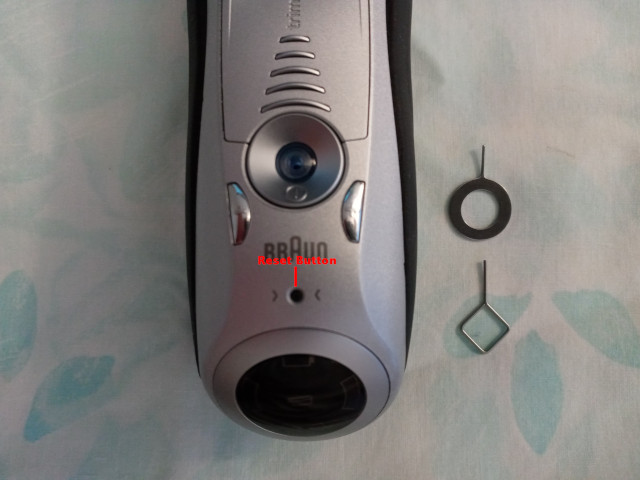
5 – The Magic Tip
Finally, we come to the moment you’ve been waiting for…the magic tip. Had I known about this tip, I would not have disassembled and re-assembled my shaver an additional three times…facepalm.
Using a smartphone SIM ejection pin or similar device, press the reset button for 4 seconds. The display at the bottom of the shaver will light up and flash in a yellow color for approximately 4 seconds while pressing the reset button. Your shaver is now ready to be charged and then used. Congratulations!
6 – Conclusion
You now have a shaver with renewed life, enabling you to postpone spending money for another shaver for a few more years. How did your battery replacement experience go? Let me know in the comment box at the bottom of the page.
2020-009


2 Comments
Vanessa
I put my shaver back together and while it lights up, it does not turn on. I have read that maybe the “prongs” aren’t connecting or touching something inside to connect to the motor but I’m not sure what this means. Any ideas? 💡Thank you.
Kurt Meyer
Other than not pressing the reset button, I’m unsure of why your razor will not work. Thank you for visiting and asking a question.